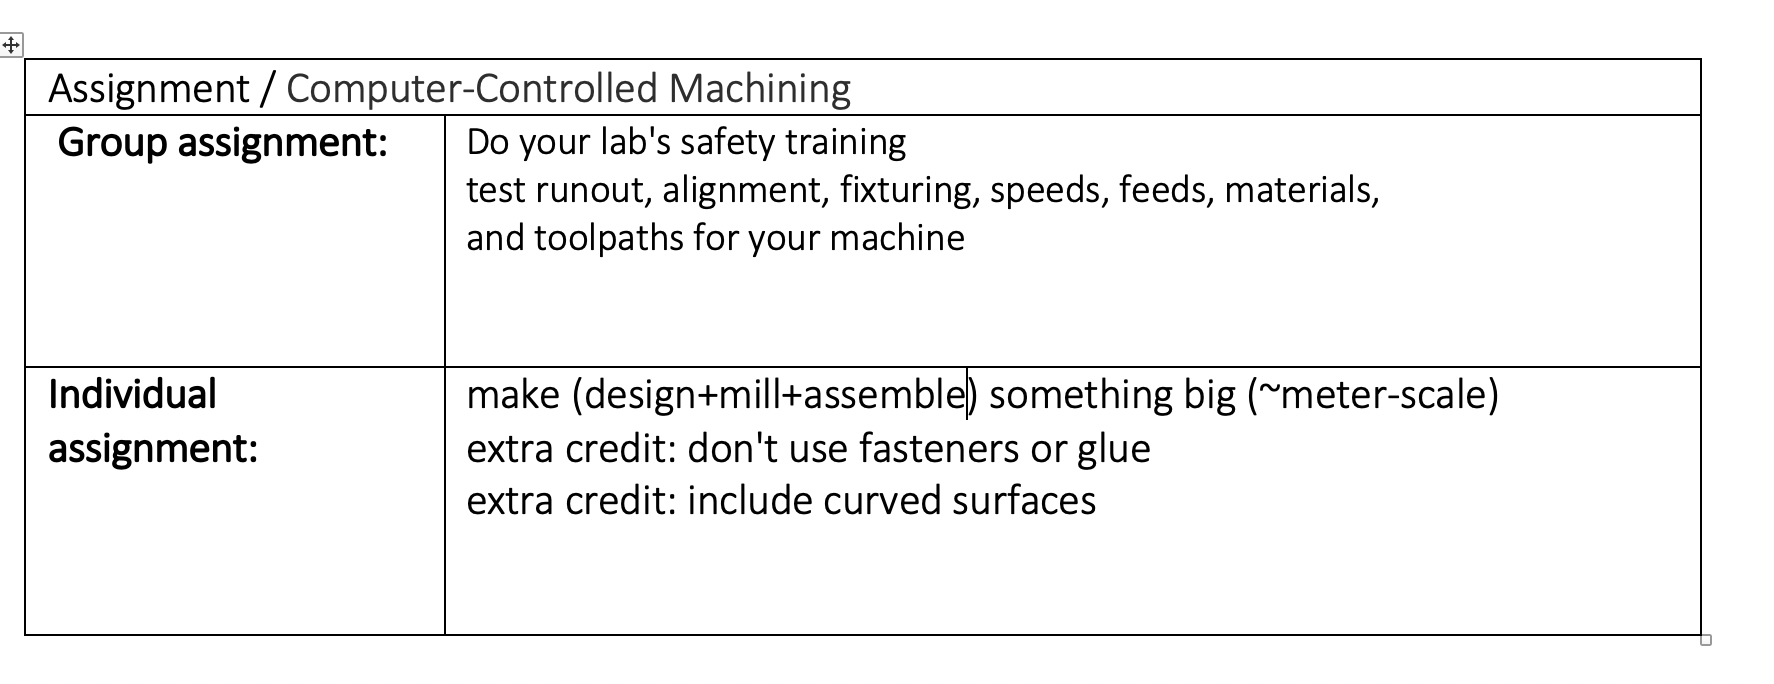
Week 7: Computer-Controlled Machining
Computer-controlled machining, also known as CNC (computer numerical control) machining, is a manufacturing process that uses computers to control machine tools. CNC machines can perform precise and complex operations on materials such as metal, plastic, and wood.
Group Assignment
Safety in the Lab
Before working with the CNC machine, we reviewed safety criteria, using proper equipment: goggles, gloves, and dust masks. We also learned about emergency procedures and proper tool handling.
Preparation: Eccentricity, Alignment, and Clamping
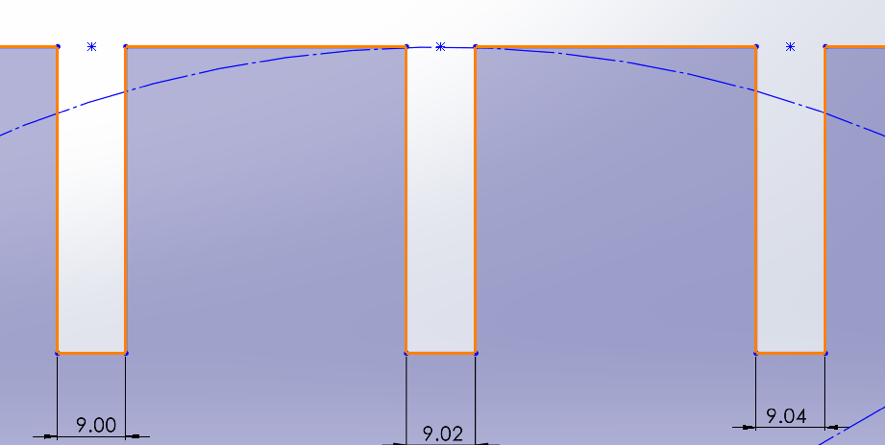
To ensure precise cuts, we checked the machine’s eccentricity using a dial indicator, achieving alignment within 0.01 mm. We secured 9mm plywood on the workbench with stops and clamps to prevent movement.
The Neatest Cut: Speeds, Feeds, and Trajectories
We configured the CNC machine with a 6 mm straight cutter and the following parameters:
- Spindle speed: 12,000 RPM
- Feed rate: 2000 mm/min
- Depth per pass: 3 mm
- Pitch per pass: 50% of tool diameter
- Cutting direction: Rising milling for smoother results
Designing and Building Something Impressive
We tested various joint designs:
- Standard Fit: Simple cut to test part fit.
- Press-Fit with Teeth: Interlocking notches for extra grip.
- Anchored Joint: Added locking system for strength.
- Reinforced Press-Fit Joint: Added channel and teeth for maximum security.

We ran a test cut on scrap material to ensure accuracy.
The Big Moment: Assembly
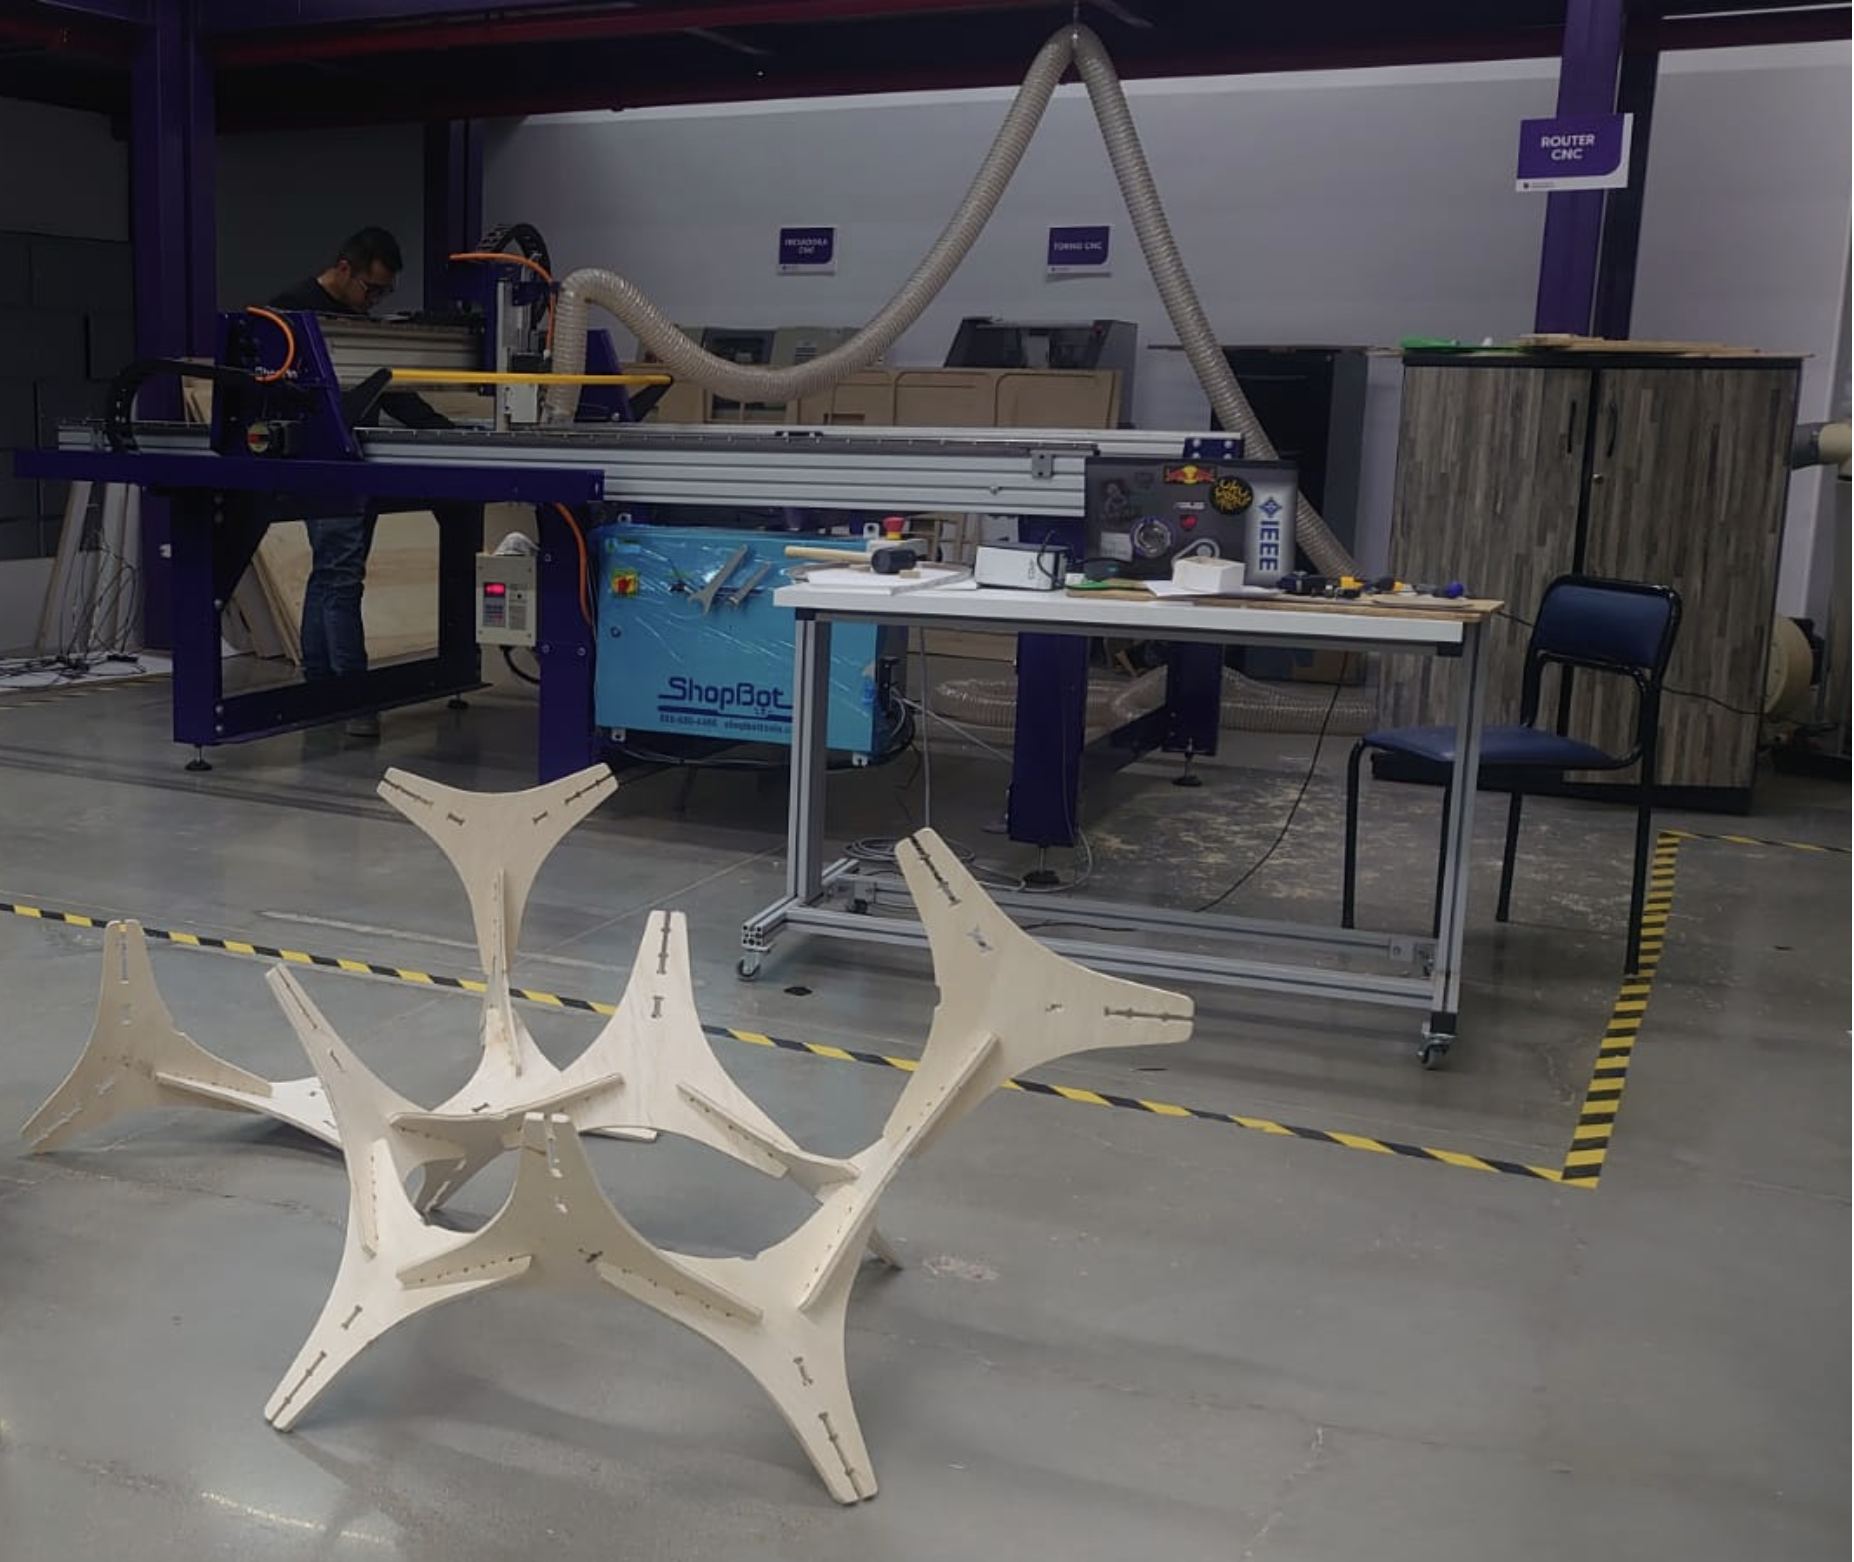
We assembled the Latin American Pavilion without screws or glue, relying on precision press-fit joints. Sanding removed splinters, and the assembly process was like solving a 3D puzzle, resulting in a sturdy structure.
Lessons Learned
- Precision is everything – even a tiny misalignment can throw off the design.
- Choosing the right cutting parameters makes a huge difference in the final product.
- Press-fit joints, when designed correctly, are incredibly strong and don’t need glue.
- Patience and testing are key – rushing leads to mistakes.
Final Conclusions
It wasn't just a task, it was an experience. From designing the parts to watching the CNC machine bring them to life, every step was practical and rewarding. We built something solid with clever design and good craftsmanship.
Individual Assignment
Design / Modeling of the Furniture/Bookcase
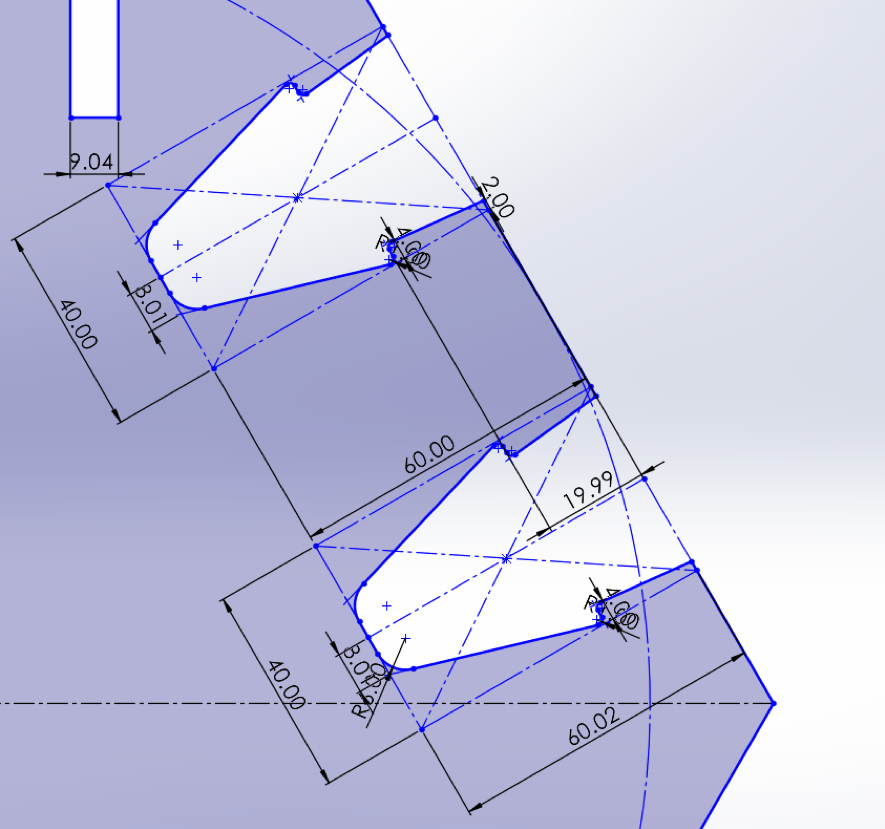
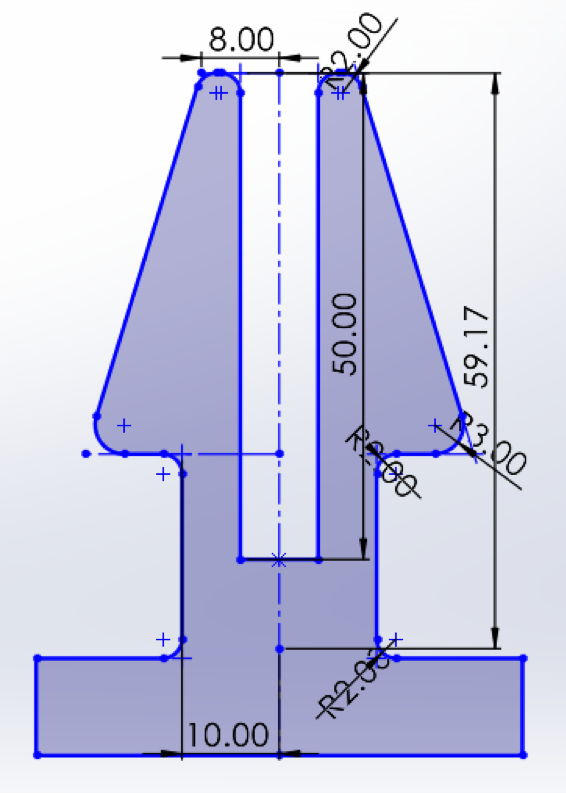
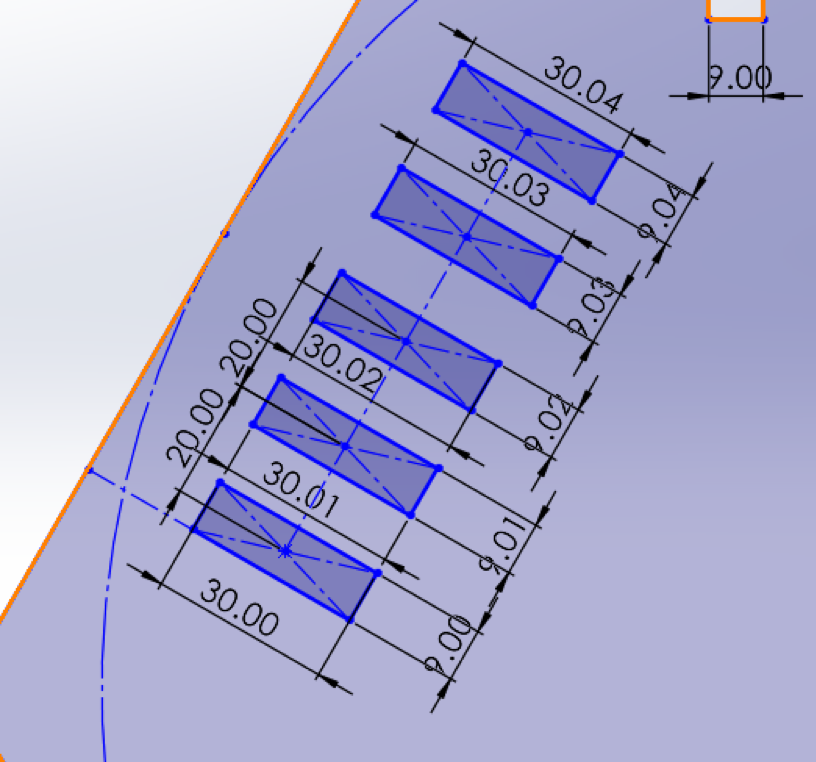
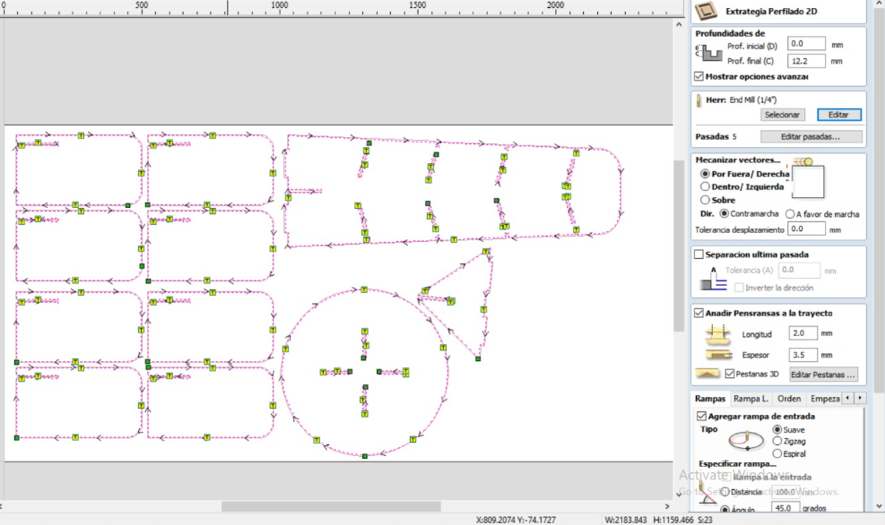
To prevent parts from coming loose, we added tabs with a length of 2 mm and a thickness of 3.5 mm.

In order to make the threading easier, a tool called femur bone is used, which consists in roughing the right angles where it has contact with another piece.
allows that there is no interference in the threading. For this case we set the software so that the roughing is 4 mm.

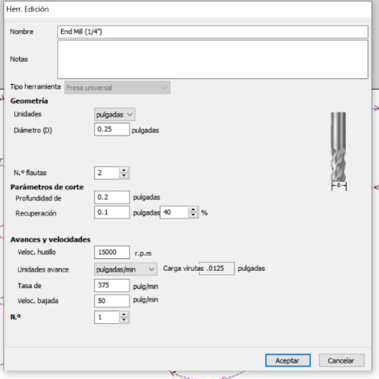
We used a 1/4 in. tool with 2 flutes, with cutting parameters of 15,000 RPM and 375 in/min, resulting in a chip load of 0.0125 in.

With all the parameters described above, we proceeded to obtain the code to be able to machine the bookcase.

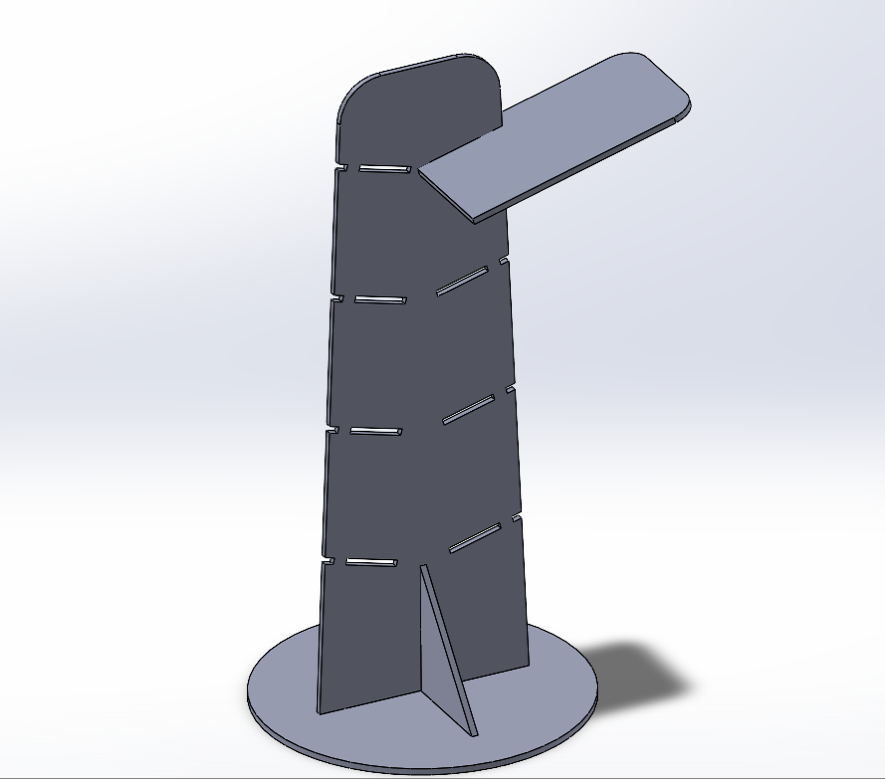
Design Process
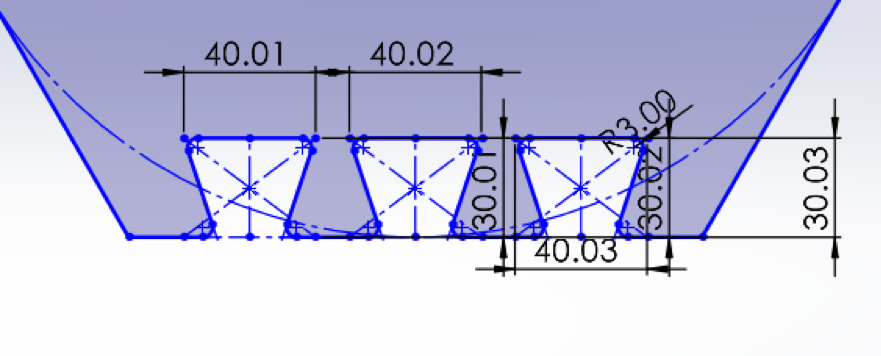
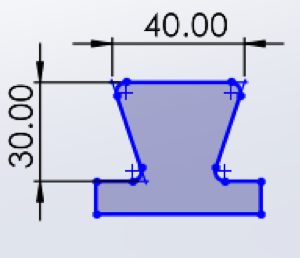
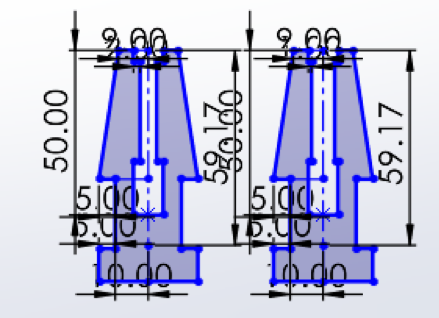
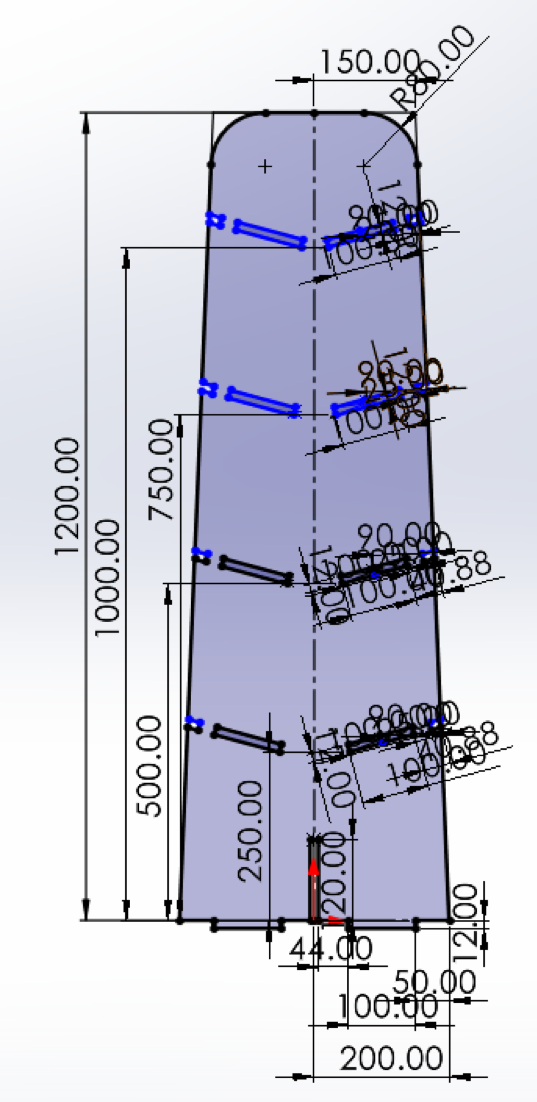
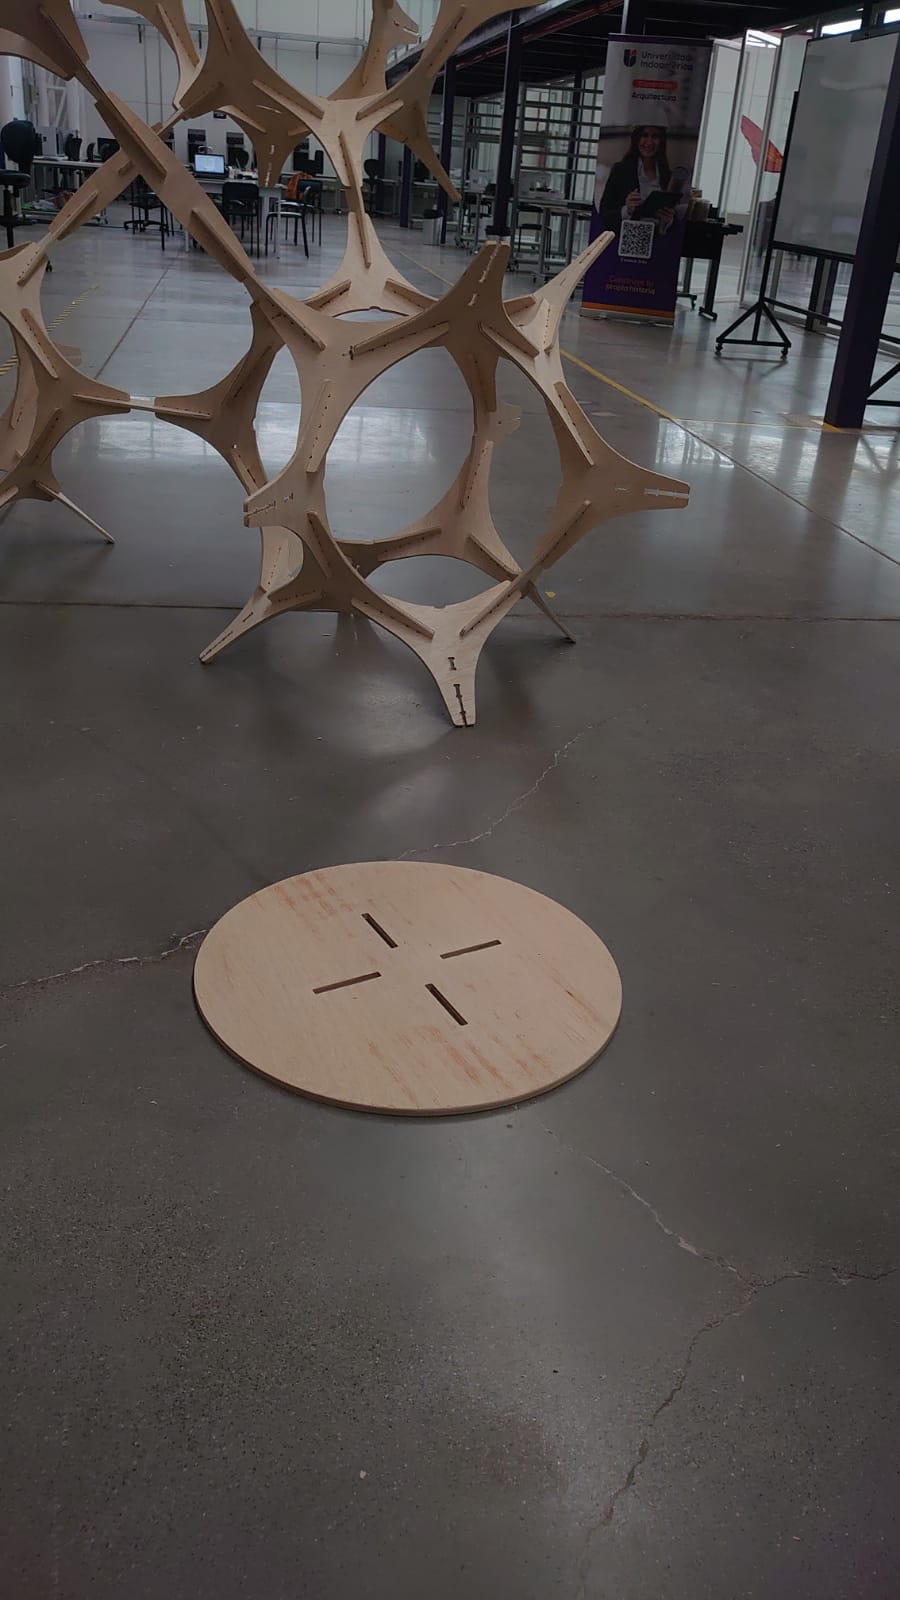
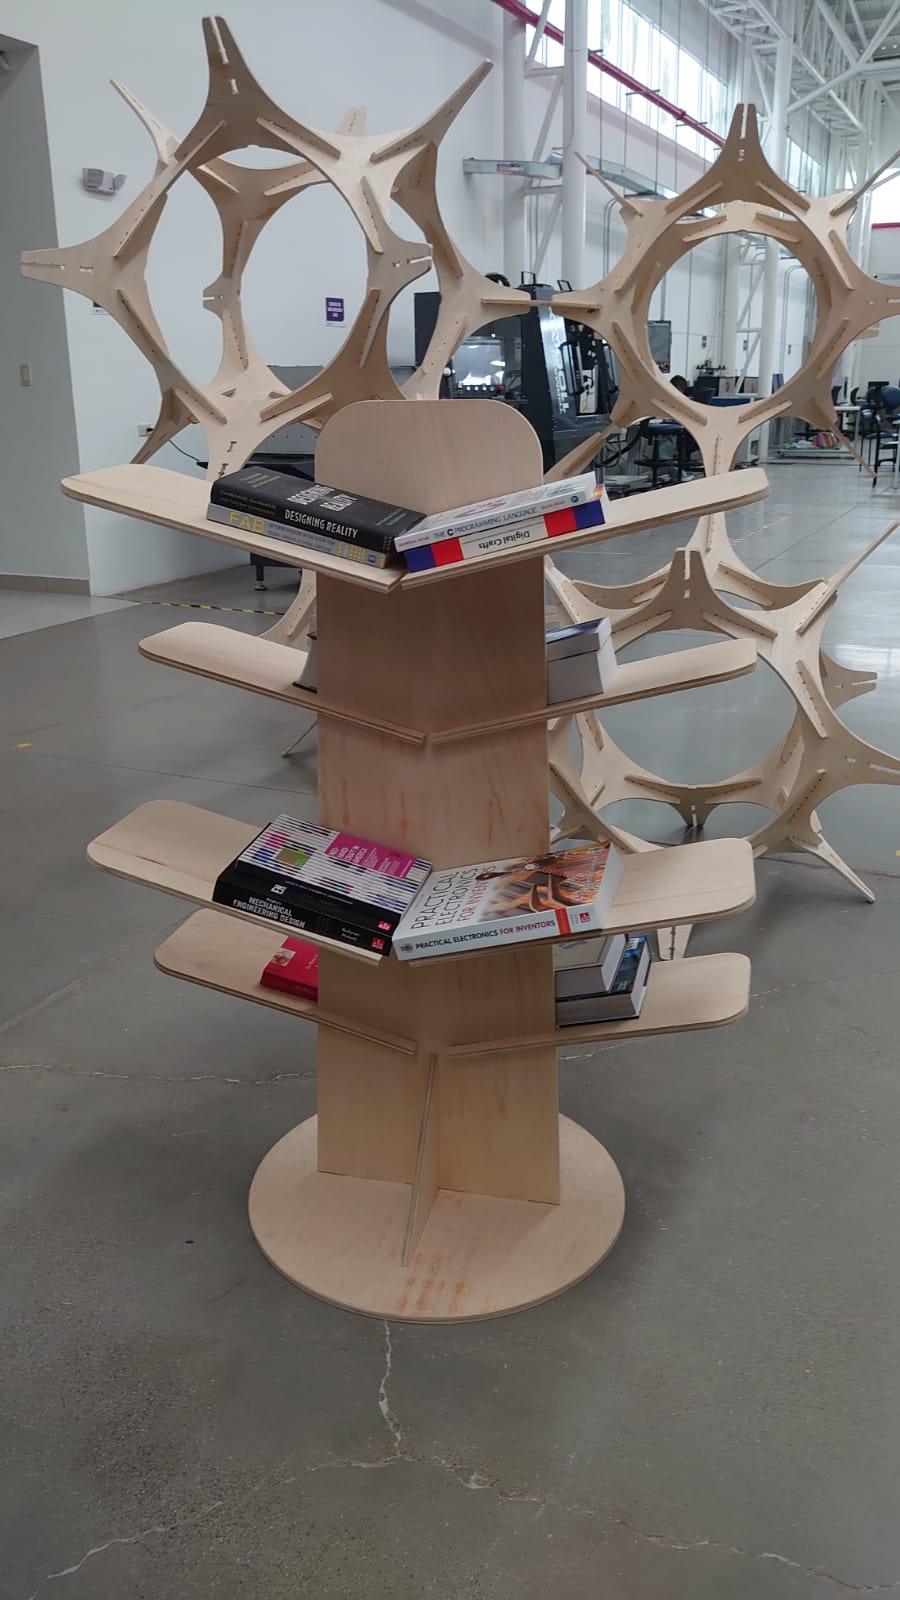
Using SolidWorks, we designed a bookcase with four pieces, integrated with press-fit assemblies. The bases used a common assembly with a rib for book support.
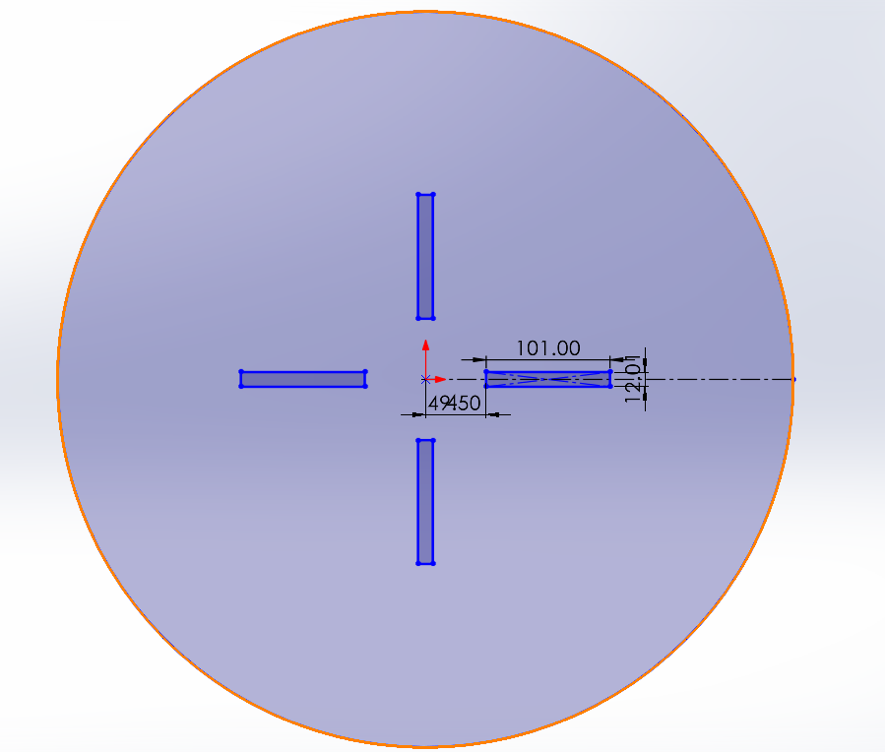
The design includes a circular base for support.
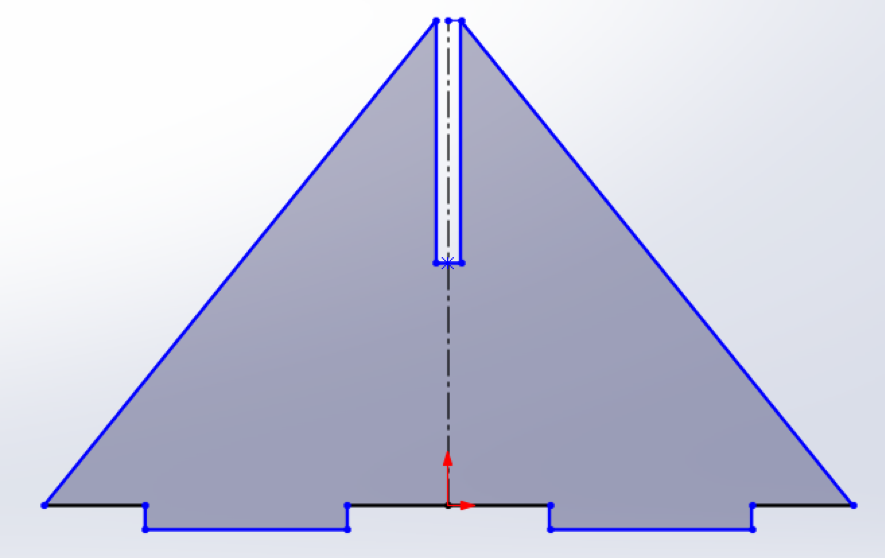
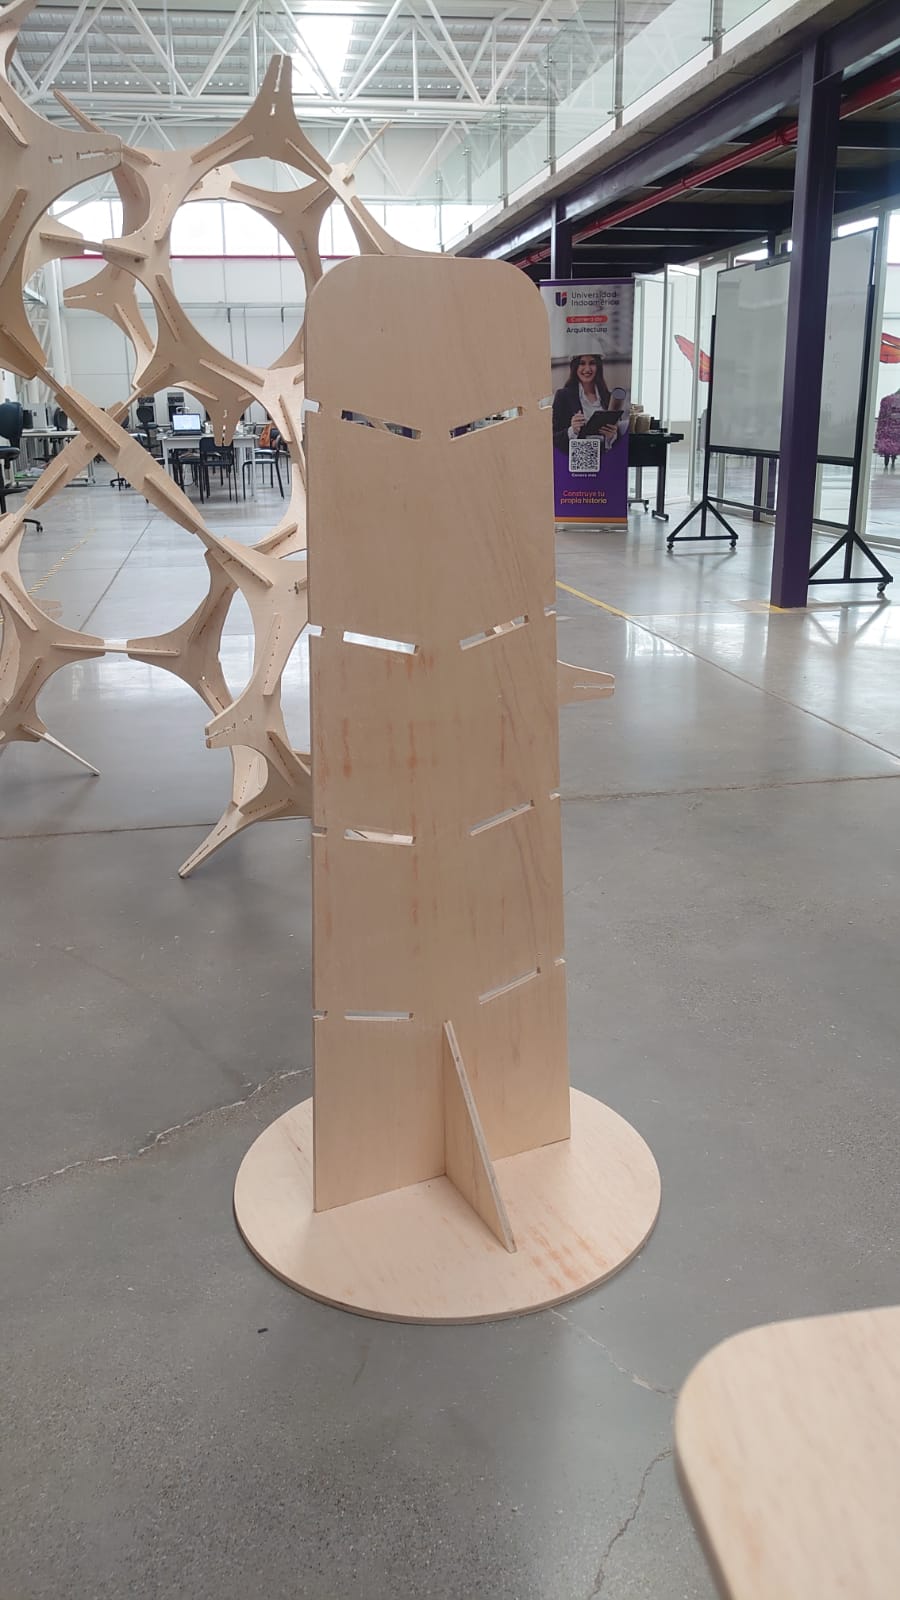
A support rib was designed for structural integrity.
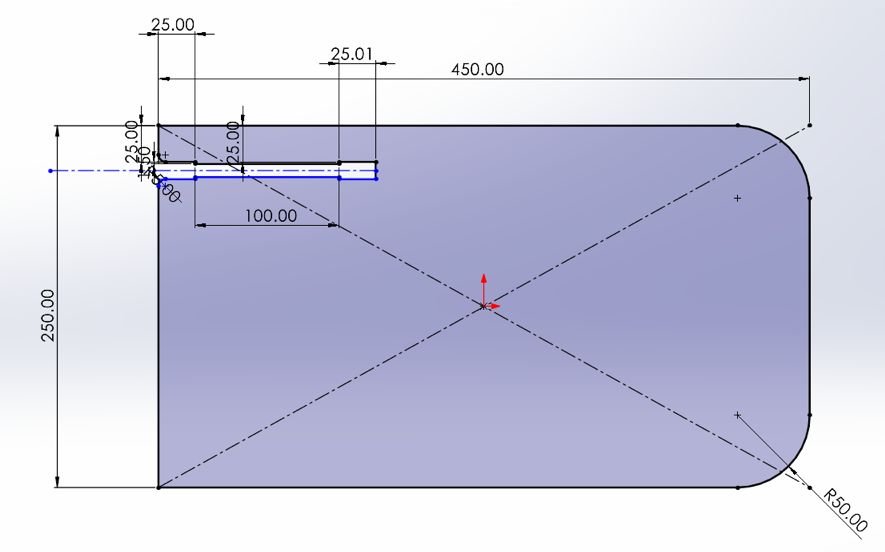
Book supports used reinforced press-fit joints to handle weight.
Assembly Simulation
We simulated the assembly to ensure functionality.
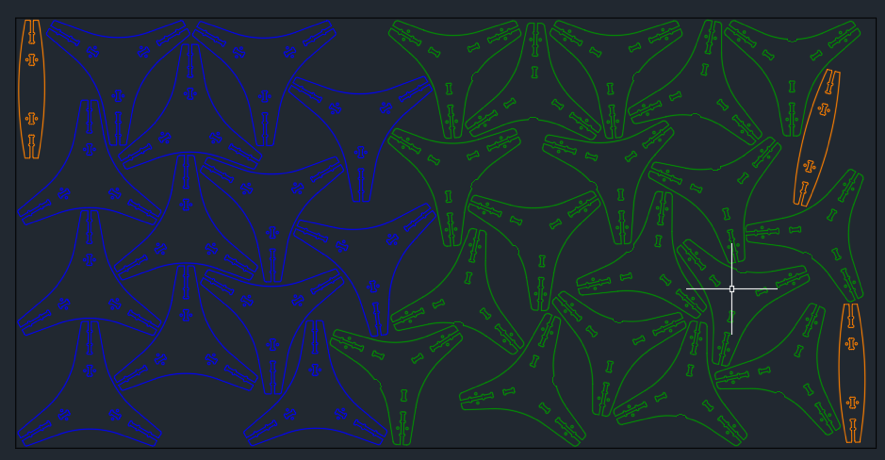
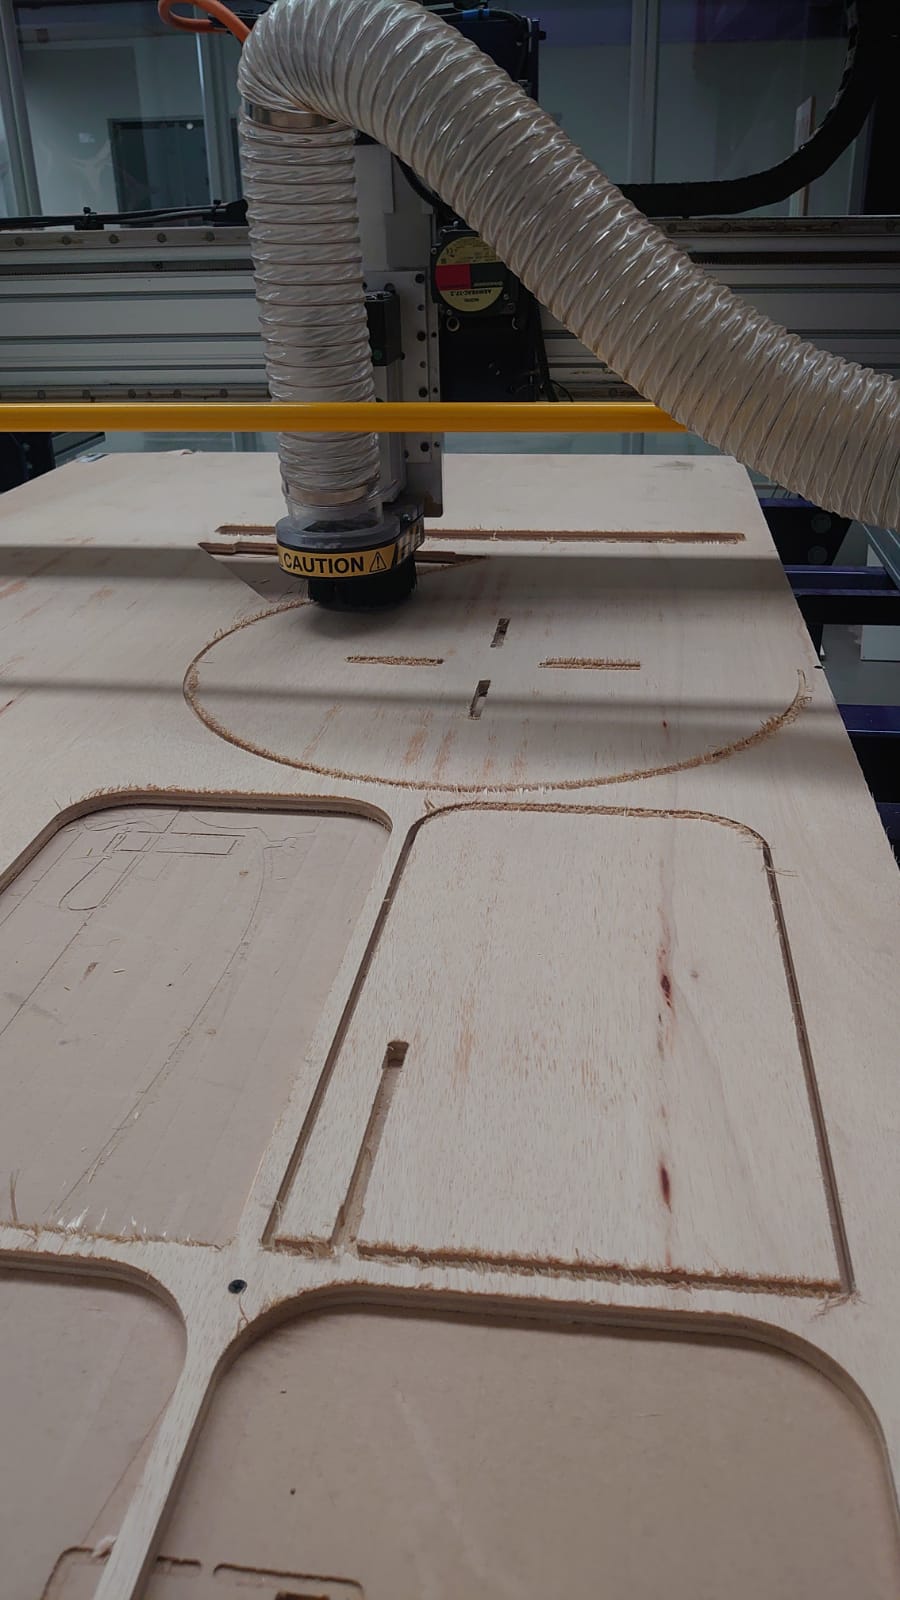
Transfer to DXF and Machine Configuration
We transferred files to DXF format and configured the machine for cutting.
We configured the tool and selected cut lines.
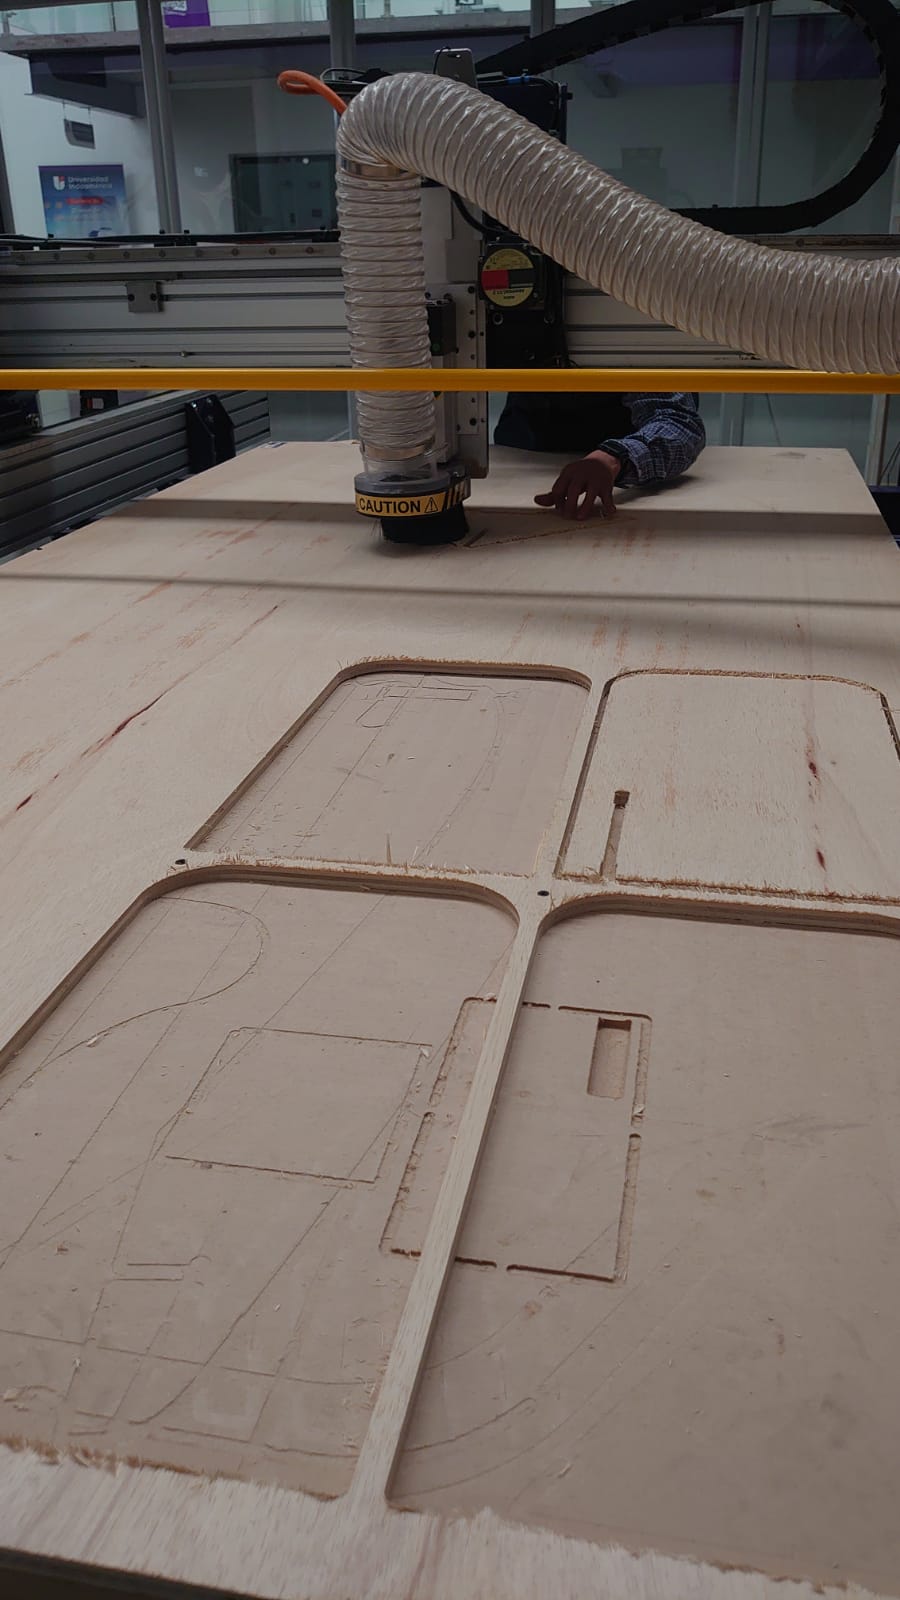
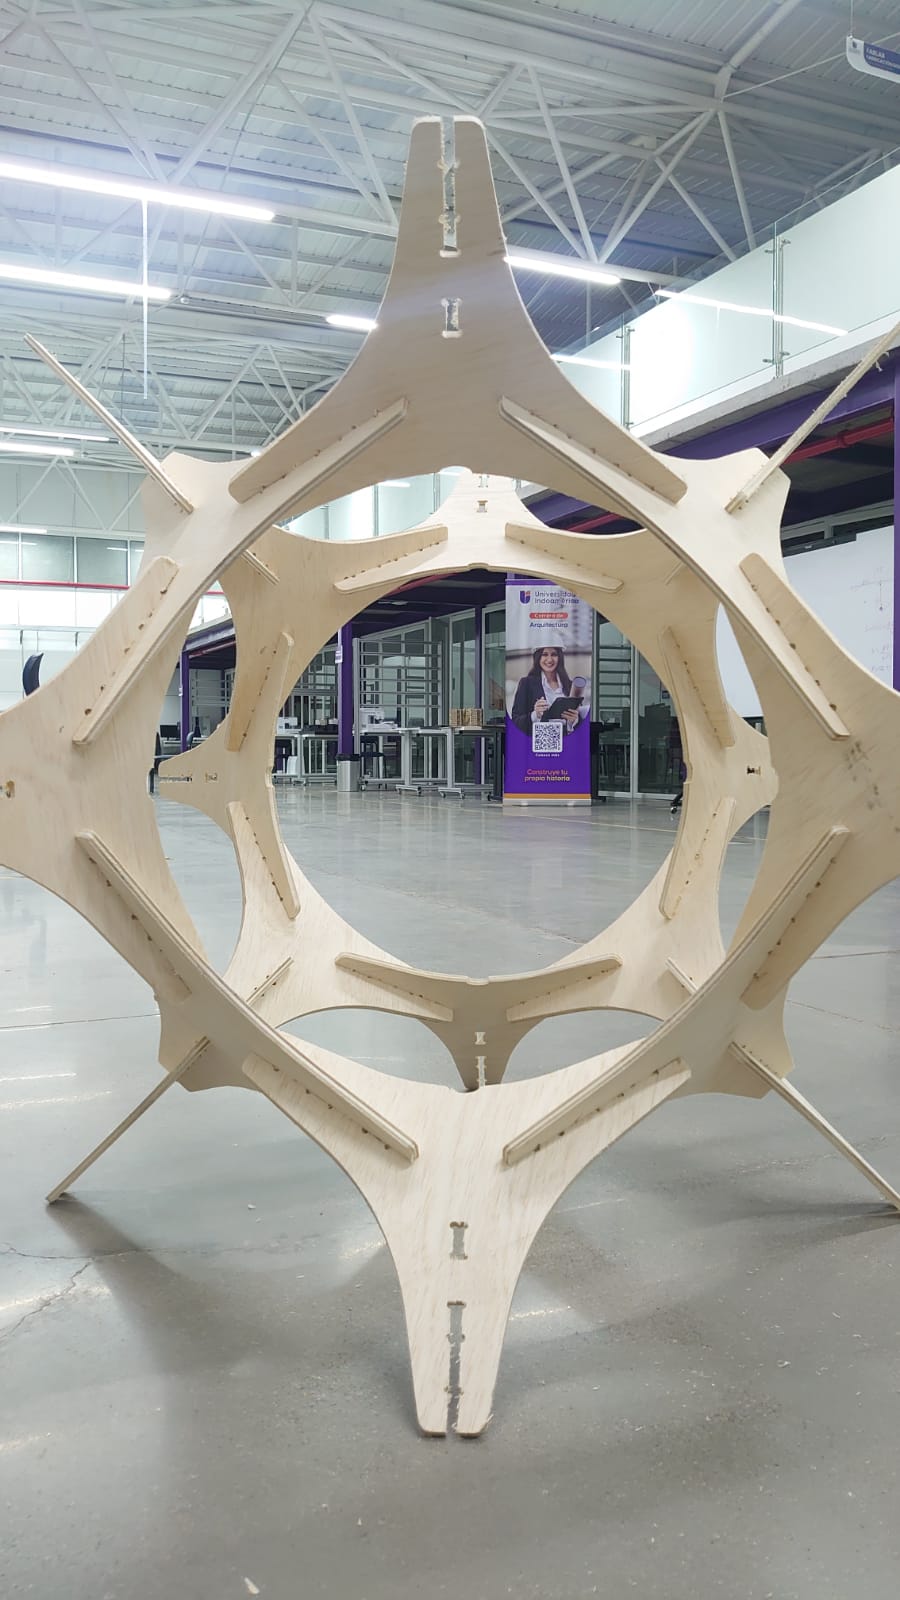
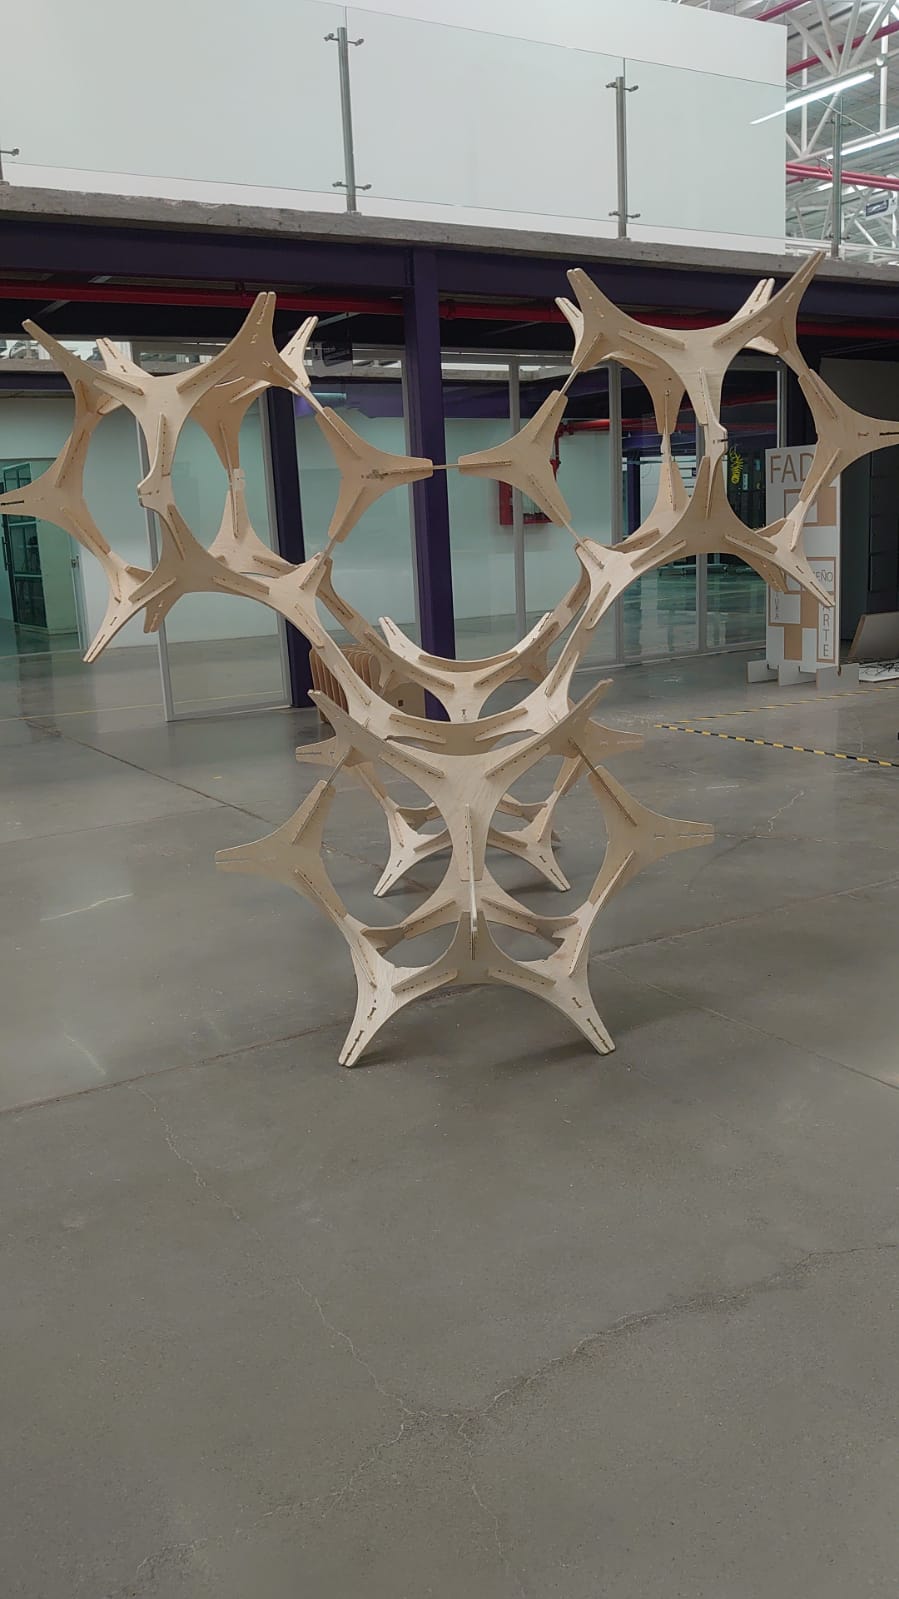
Cutting and Assembly
We performed the cutting process and sanded the parts for assembly.
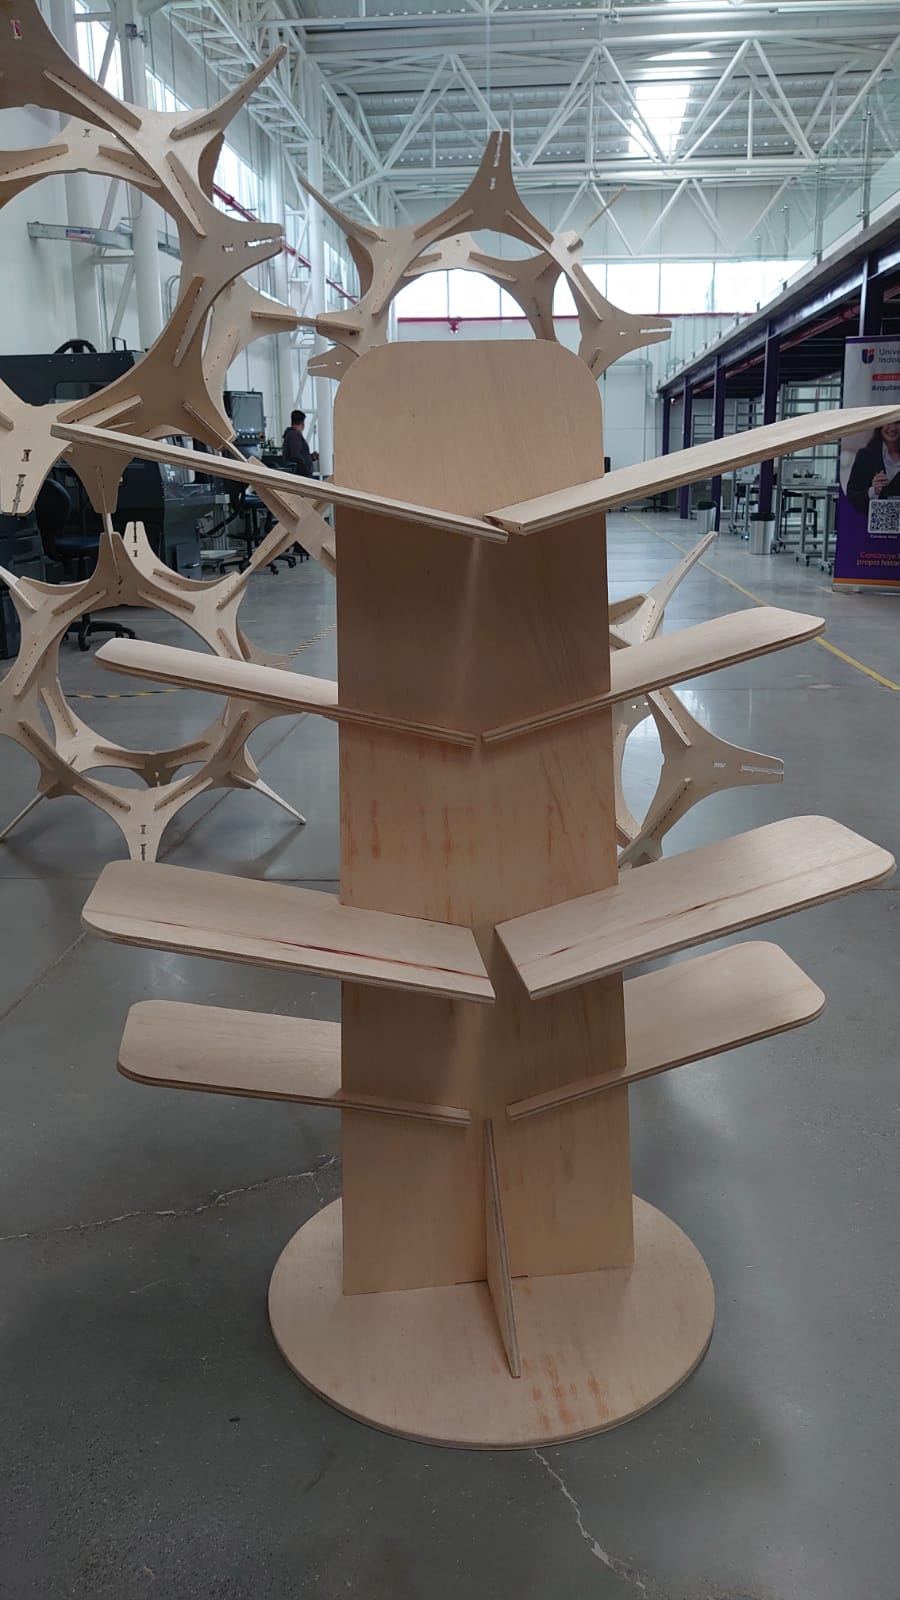
The final bookcase in use.
Final Conclusions
This week's assignment focused on designing, cutting, and assembling a functional bookcase using CNC machining. The experience reinforced the importance of projecting functionality and materializing it through precise craftsmanship.
Key Takeaways
- Safety protocols ensure a secure workflow.
- Machine calibration is critical for precision.
- Tool path optimization enhances efficiency and quality.
- Each step contributes to a coherent construction.